Add An Order
To create a sales order in the admin panel, navigate to the Store tab, select Orders and click the Add An Order [+] button. The Add An Order window will pop up. Here you will learn about the different tabs in the Add an Order window:
Bill Customer: Learn more about the Bill Customer tab. Learn More >
Ship Customer: Learn more about the Ship Customer tab. Learn More >
Items: Learn more about the Items tab. Learn More >
Shipping: Learn more about the Shipping tab. Learn More >
Payment: Learn more about the Payment tab. Learn More >
Review: Learn more about the Review tab. Learn More >
Want to place an order through the WineDirect POS? Check out our POS Orders documentation.
Bill Customer
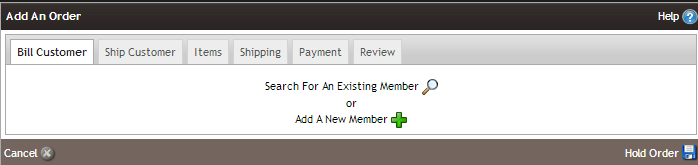
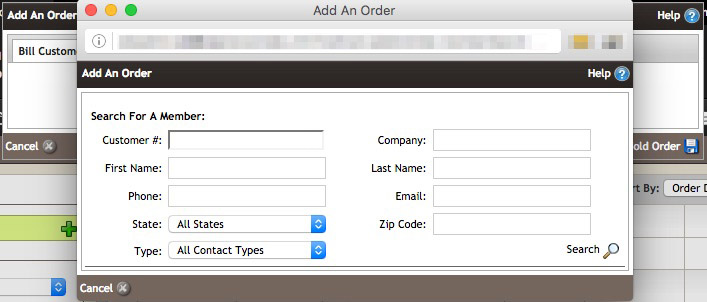
1. Click on Search For An Existing Member, if the customer is a repeat customer and are already in the system.
2. Click on Add A New Member, if the customer is completely brand new to your winery. Fill out the new customer form. To speed up data entry click into the Address field, and as you enter the address information the platform will dynamically look for relevant matches to the address information that you are entering using Google's vast address database.
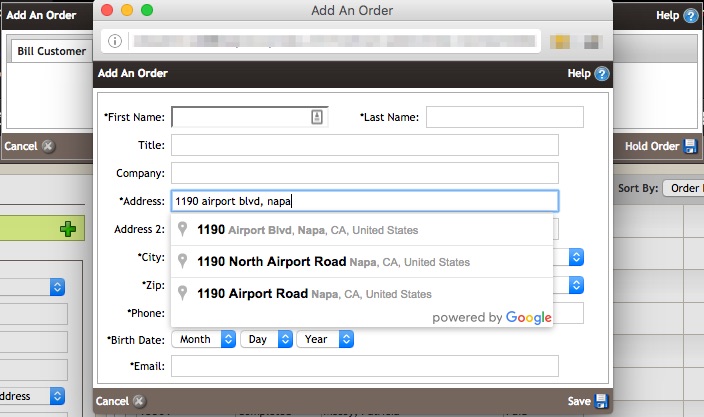
Select the address that matches what you are entering and have the relevant form fields auto complete the address as much as possible. If you do not wish to use the address suggestion, click anywhere onscreen other than the address suggestion dropdown.
3. After the customer has been added to the order there are additional optional selections that can be made on the order.
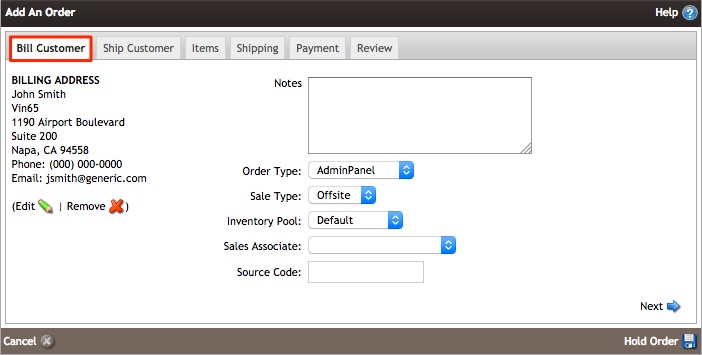
| Notes | Use the notes field to enter a customer-facing message or special shipping instructions. Note: These notes will be visible to your customer and integrated fulfillment providers. If you want to make internal-only notes, you can do that after you've created the order. Click here to learn more. |
|---|---|
|
Order Type |
There are a number of different order types to help to distinguish where an order originated. By default orders placed through the admin panel are automatically assigned an order type of AdminPanel. It is recommended that you use the AdminPanel type for orders manually placed through the Vin65 admin panel. For more information, including a list of order types, please see the Order Type Documentation. |
| Sale Type | If you are using ShipCompliant you will have the Sale Type selection in your admin panel. This allows you to mark an order as being place OnSite (or on your premises) or OffSite (through the website, off the property, or outside events). |
|
Sales Associate |
If you are using the Sales Associate option you will be able to assign an order to a specific sales associate to assist in order tracking and commission for orders placed. The sales associate will be recorded on the order and cannot be changed once the order is placed. Sales associate information will appear in sales reports such as the Sales By Date report which contains a Sales Associate column. For more information please see the Sales Associates Documentation. |
| Sales Attribute | Sales Attributes allow you to create additional markers to tag your orders with. Like Sales Associates a Sales Attribute is recorded on the orders and cannot be changed once the order is placed. Sales attribute information will appear in reports such as the Sales By Date report which contains a Sales Attribute column. For more information please see the Sales Attribute Documentation. |
| Source Code | The Source Code field allows you to add additional free-form text information to flag an order for a specific purpose. The order source code can be found in your Sales Detail/Sales Detail X Report. |
4. When you have finished adding and additional options, click Next to continue to the Ship Customer tab.
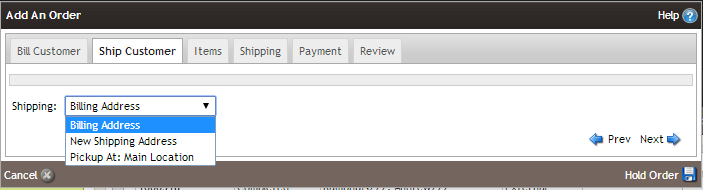
Ship Customer
1. In the Shipping drop down, select either Billing Address, New Shipping Address, or Pickup At a specific location, depending on how the customer wants to receive the order.
2. If New Shipping Address is selected, fill out the populated form. To speed up data entry click into the Address field, and as you enter the address information the platform will dynamically look for relevant matches to the address information that you are entering using Google's vast address database.
The New Shipping Address is usually intended for a gift purchase or for the order to be shipped to another location.
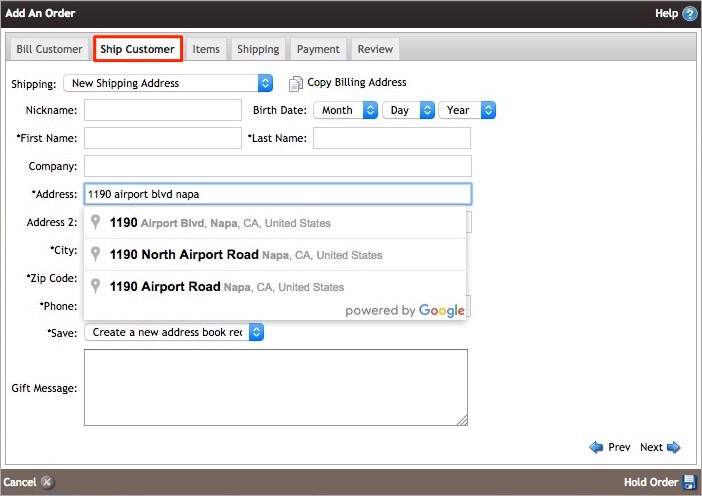
Select the address that matches what you are entering and have the relevant form fields auto complete the address as much as possible. If you do not wish to use the address suggestion, click anywhere onscreen other than the address suggestion dropdown.
3. Click Next to continue to the Items tab.
Items
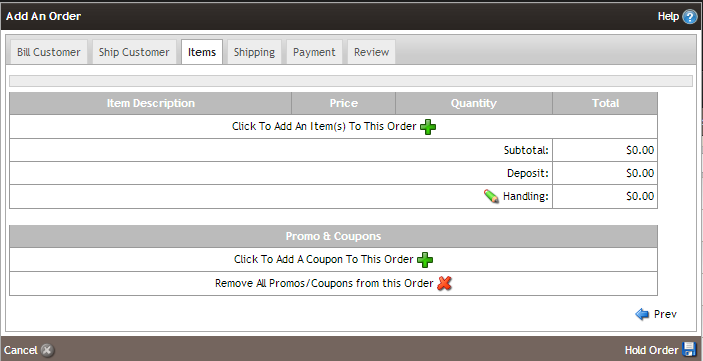
1. Click on The Add An Item To This Order [+] icon to add items.
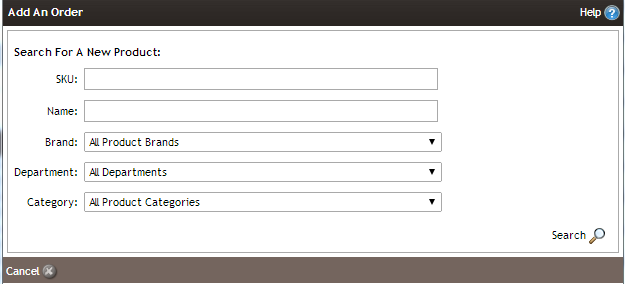
2. In the window that pops up, search the SKU, Name, Brand, Department or Category and click Search.
If you click on Search without entering any search parameters, all of your active products will show up.
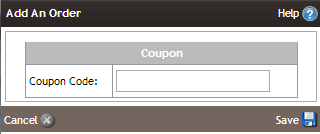
3. Promos that apply automatically will appear as soon as you add a product. If there are additional promos that you wish to add that require a code to be entered, click on the Add A Coupon To This Order [+] icon to add a promo code/coupon.
4. When you have completed adding each of the products, promos, click Next.
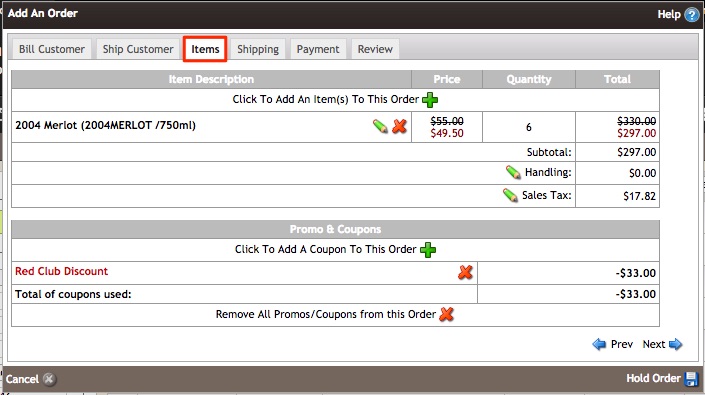
If you “override” a price on an order in the admin panel or on the POS – a coupon will no longer apply to the overridden price. If you edit an item where the price has been overridden, you can remove the override price, and the original price will appear and coupons will apply. Sales Detail and Sales Detail X Reports will both show you if a price has been overridden on an order.
Shipping
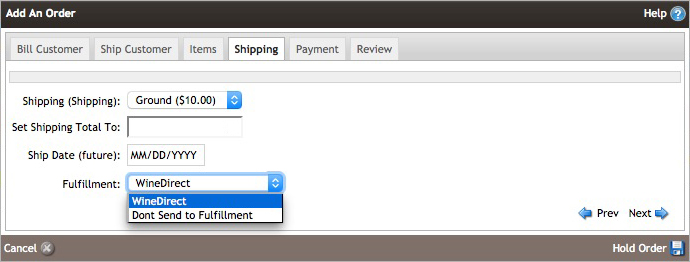
1. Select the shipping strategy available in the order. You can Set Shipping Total To a different rate as this overrides your shipping strategies rate.
2. Select A Ship Date (Future), if customer would like order to be shipped at a later date.
3. If you are using an integrated fulfillment provider, such as WineDirect, you can choose whether or not you want to have your fulfillment company fulfill the order or if the order will be fulfilled in house (Don't Send to Fulfillment).
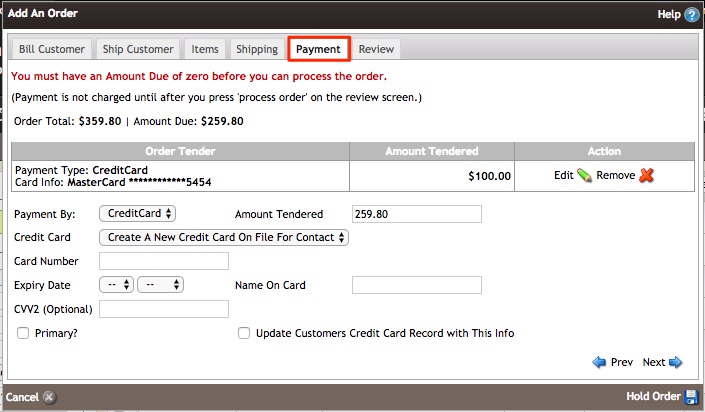
Payment
Placing a split tender order? Check out our Admin Panel split tender documentation.
1. In the Payment By dropdown, select either Cash, Credit Card, On Account, Check, Credit or Gift Card. Each tender type will populate their own field.
When selecting Credit Card, the card type will automatically be determined by the platform based on the card number that is entered.
Vin65 platform does not monitor the collection of cash, on account, or check funds. It is up to the winery to make sure to collect any outstanding funds from the customer for these payment types.
The only payment information documented by the platform will be credit cards. Only the last 4 digits of the credit card will be recorded.
The only payment information documented by the platform will be credit cards. Only the last 4 digits of the credit card will be recorded.
2. If customer would like to add a different credit card, click on the Create A New Credit Card On File For Contact. Additional fields will populate to register the new credit card information.
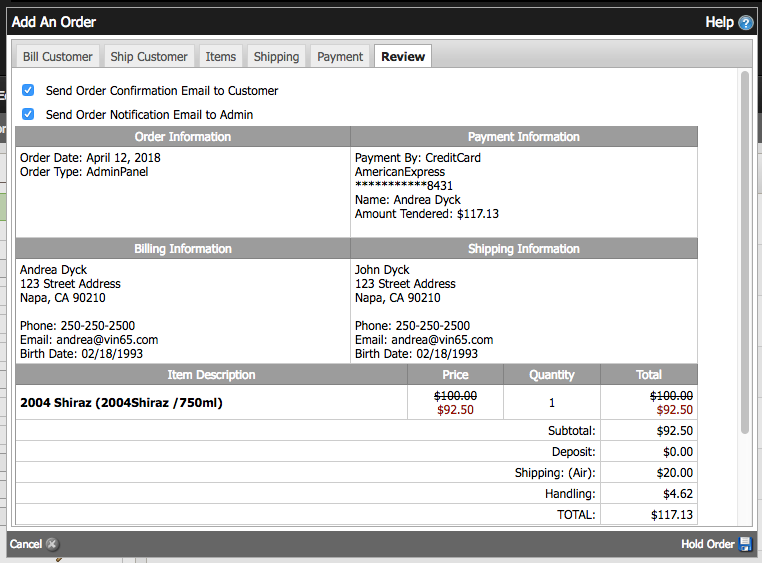
Review
1. In their tab, review your order information to make sure all sections are correct.
2. The Send Order Confirmation Email to Customer and Send Order Notification Email To Admin would always be checked on default. If you do not want to send a customer the order confirmation email or send order notification to the admins, simply uncheck the box or boxes.
3. When you made sure everything is correct, please click on the Process Order button. Your order will then generate and an order number will be created.