- Designer Launch
- Content Page Customization
- Photo Gallery
Custom Photo Galleries
When creating a photo gallery, if you simply want to add it into your page content, you can easily add it directly through the Content Editor in the Admin Panel (learn more here). If you want to build it into your website template, learn how to do so here.
By default, Slick Slider is integrated into WineDirect's latest templates and used for the photo gallery tools. If you aren't yet using Slick slider, you can also learn more information on how to integrate it.
Adding A Photo Gallery To Your Layout
Note: If you aren't using Slick or Nivo Slider for your website, follow these intructions to integrate Slick slider first.
1. Creating your gallery
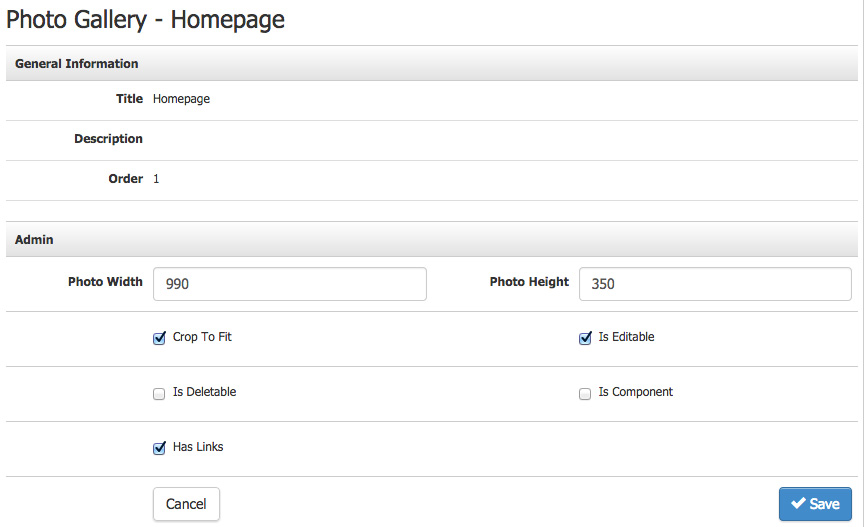
To create a gallery, go to Content Editor > Components > Photo Gallery and, on the right hand side, click Manage Photo Galleries, then Add a Photo Gallery.
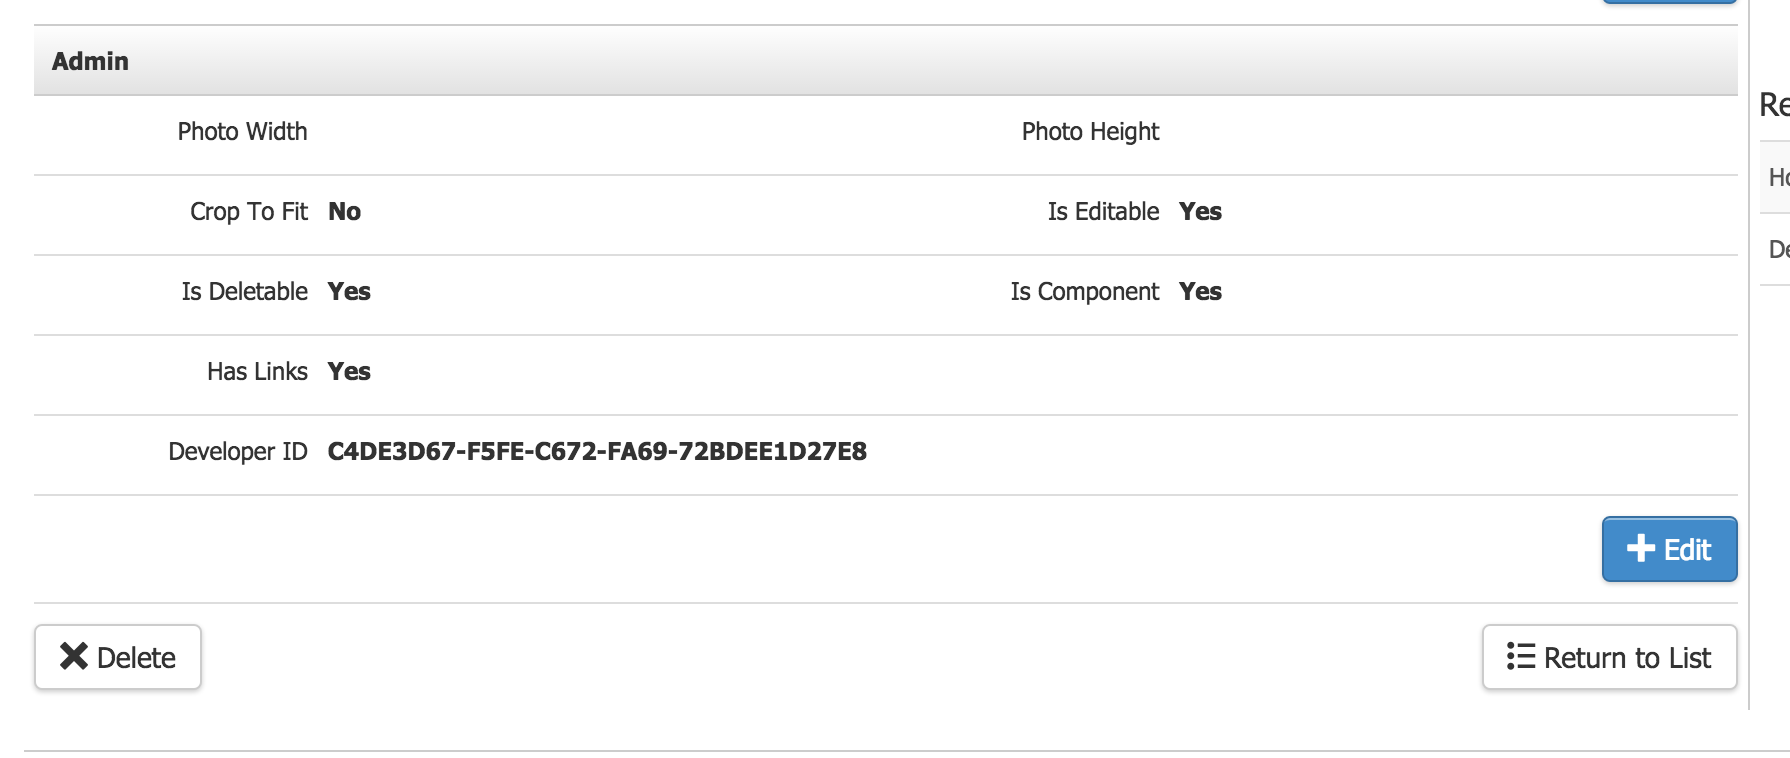
Once your gallery is created in the admin panel, you will need to grab the size and gallery ID. This will be used in the next step.

2. Adding the gallery to your website files
You'll need to update both the layout that will be using your photo gallery and your scripts file.
Add the Developer ID from the photo gallery in the admin panel to this part of the code in your scripts file. (If you don't see this code, it's possible that the slider is not integrated yet and you need to follow these steps first.)
if ($("#slider").length) {
   $("#slider").v65PhotoGallery({
       galleryId: "ID GOES HERE"
   });
}
A call to the photo gallery now needs to be added into whichever layout file you want to have the gallery display on. (ie. home.htm).
<div id="#slider"></div>
Note: Make sure to parse your HTML file through the Designer Launch tools to ensure that the changes take effect.
3. Adding photos to your gallery.
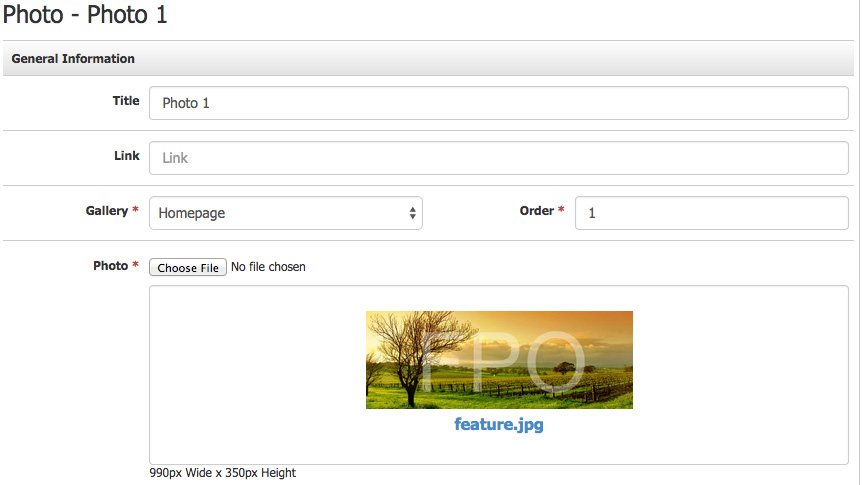
Now you're all done with the setup, you can now add photo to your gallery in the Content Editor under Components > Photo Gallery > Add a Photo.
Give the photo a title and an order and make sure to select the correct gallery.

After photos have been added to your gallery, it is now ready to go.
Integrating Slick Slider with the WineDirect Photo Gallery
If Slick Slider isn't already integrated, or you'd like to update from the older Nivo Slider tools, you can follow the steps below to add it to your template.
1. Adding the Slick plugin files
Upload the slick folder to the assets folder through the FTP. The file path should look like www/assets/slick.
2. Update your scripts file to use Slick for the photo gallery.
Include a call to the Slick Slider in your script file or include the following file so that galleries created WineDirect load in properly.
(If you're currently using "Nivo Slider", you'll see some scripts to the ones in the file that can simply be replaced.)
3. Include the plugin files in your page template
Now that your website has all of the necessary files, you need to include them in your page layout.
Add to Header
<v65:css files="/assets/slick/slick-winedirect.min.css,/assets/slick/slick-theme-winedirect.min.css"></v65:css>
Add to Footer
<v65:js files="/assets/slick/slick-winedirect.js"></v65:js>
You should now be able to add any photo gallery on your website and have it render with the Slick photo gallery!

