- Content Editor
- Photo Gallery
Photo Galleries
Our Photo Galleries tool offers an easy and intuitive way to create an online slideshows for your photos. Photos will be saved to our server and can be added to a single gallery at a time.
Create A Photo Gallery: Learn how to create a photo gallery. Learn More >
Add Photos To A Gallery: Learn how to add photos to your gallery. Learn More >
Place A Gallery On Your Website: Learn how to place a photo gallery on your website. Learn More >
Video Keynotes:
- 00:15 Add a photo
- 00:40 Adding a new gallery
- 01:44 Adding a caption to a photo
- 02:30 How to link a photo to a webpage
- 03:35 Managing photo galleries
- 03:55 How to add a photo gallery to a page
Create A Photo Gallery
Before you can add images you must create a photo gallery to assign them to. The following steps will assist you in creating a gallery.
1. Navigate to Content Editor > Components > Photo Galleries.
2. Click the green [+] Add a Photo Gallery button on the right of the Photo Galleries section.
3. Enter the name of your gallery (title), order, and add an optional description of what the gallery contains.
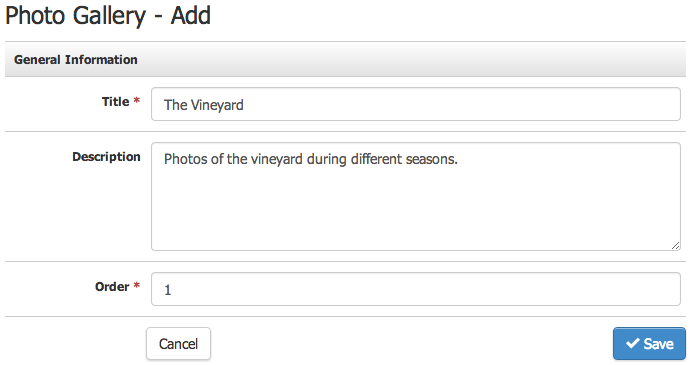
Table of Definitions:
| Title | The name of your photo gallery. This name is for internal purposes and will help you in identifying your gallery in the admin panel. |
|---|---|
| Description | A description for admin users to reference the type of images to be uploaded to this gallery. |
| Order | The order that the gallery appears in the photo gallery section. |
4. Click Save to create and save your gallery.
Once you have created a gallery you will need to add images to your gallery. Photos are added to the gallery by going to the Photo Gallery Section. The following steps will assist you in adding images to a photo gallery.
1. Navigate to Content Editor > Components > Photo Gallery > Add a Photo > Save.
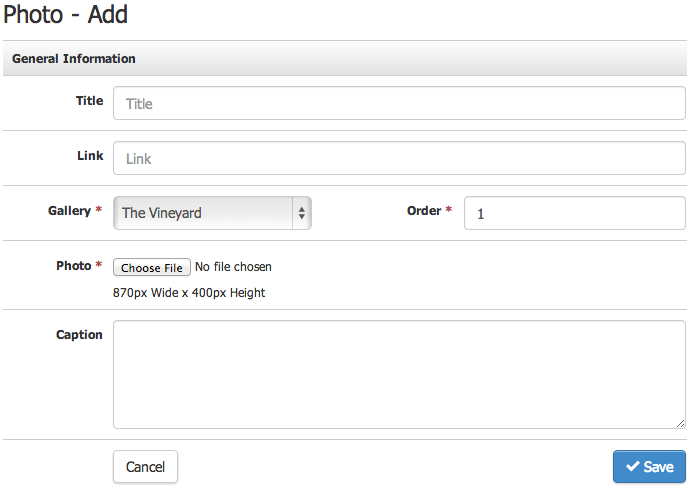
Table of Definitions:
| Title | The name of the photo as shown in the admin panel. This name will not appear on the website. |
|---|---|
| Link |
Link is an optional field. This allows you to link the photo to a page on your website or to an eternal website.
|
| Gallery | Allows you to assign the photo to the correct gallery. A photo can only be assigned to a single gallery. If you wish to use the photo in more then one gallery you will have to upload a separate image file, with a different name, to each gallery. |
| Order |
The order your photo will appear in your gallery.
|
| Photo |
Use the 'Choose File' button to select the photo you wish to upload from your computer. Photos should be as close the the recommended size as possible.
|
| Caption |
Adds a small caption text to the bottom of the image when it shows in the gallery on the website.
|

4. Click Save to save your photo.
Place A Gallery On Your Website
Photo Galleries, like other Vin65 components can be added to a page by using the components button. The following steps will assist you in adding a photo gallery to a page on your website.
1. Navigate to Content Editor > General Pages and select the page you wish to add the gallery to from the page tree on the left of the General Pages section.
2. Place your cursor on the page where you want the photo gallery to appear and click the component button from the content editor toolbar (the icon looks like a gear).
3. From the component drop down look for Photo Gallery: and then the name of your gallery. Click OK.
4. Click Save Page at the bottom of the page to save your changes.
You can only apply one photo gallery per page. If you place more than one on any give page only the first gallery will render. All others will read "Photo Gallery Rendered Here".